ALAN WITH THE BREAD BAG HAT
One of my favourite radio broadcasts…kind I enjoyed doing…was the Case of the BREAD BAG HAT.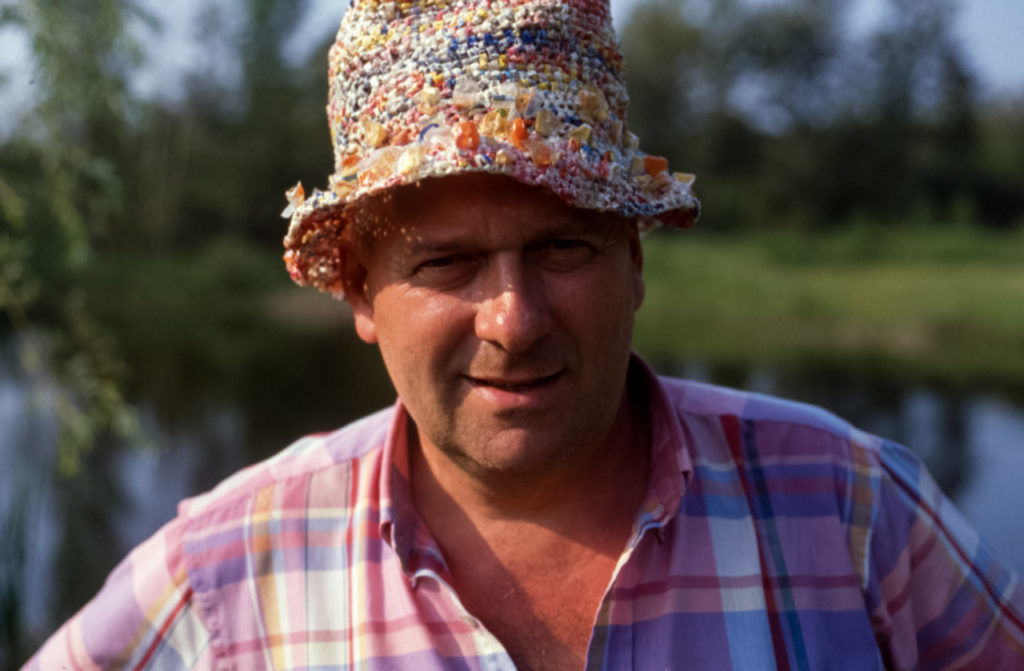 alanskeoch.ca/wp-content/uploads/2018/02/bread-bag-hat-300×197.jpg 300w, alanskeoch.ca/wp-content/uploads/2018/02/bread-bag-hat-768×503.jpg 768w, alanskeoch.ca/wp-content/uploads/2018/02/bread-bag-hat.jpg 1280w” sizes=”(max-width: 525px) 100vw, 525px” style=”box-sizing: inherit; border-style: none; height: auto; max-width: 100%; display: inline; float: left; margin: 0px 1.5em 0px 0px;”>
Recycled Plastic Bag Hat
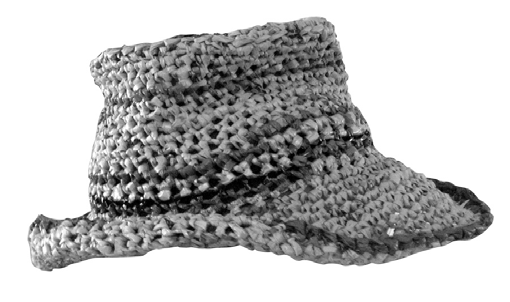
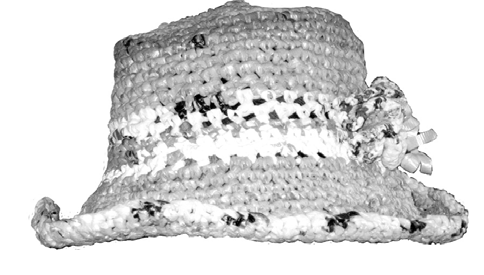
This hat is made from used plastic grocery bags. The bags are cut into strips and crocheted. The result looks a lot like a straw hat. It can be scrunched, folded, washed and/or stomped on without damage. And best of all, it’s all recycled!
This was my first project in crochet, and it’s really easy. The most boring (and therefore the hardest) part is cutting the plastic bags into strips.
Materials:
20 – 30 plastic grocery bags, cut in strips
Crochet Hook size J (6mm) or closest size. Use wood or metal hook, plastic hooks stick to
the plastic bags. *See notes on back about bag choices + methods of cutting into strips.
There is no gauge since bags come in many weights. The hat is measured in inches as you work. The hat is worked in a spiral, all in single crochet (sc), with increases and decreases determining the shape.
Top:
Use your favorite circle method and sc 8 sts into a circle.
**I use the Magic Adjustable Ring, by Donna Hulka. See ** next page. Since the hat is worked as a spiral this is where you should place a marker to keep track of your rounds (see below).
Work 2 sc into each stitch (st) until you have 16 sts. After this keep increasing as much as you need to keep the circle flat. You need to increase 6 – 8 times in each full circle, so you
could place a stitch marker and keep count. Or, like me, you could just guess, and if it starts to curl increase more, or if it looks ruffled stop increasing.
Side:
When the circle is around 7 inches in diameter stop increasing. Continue to sc in every st until the hat is the height you want (try it on). 4 inches is a reasonable minimum.
Brim:
You now need to start increasing again. (I usually increase every 3rd st for the first row, to give it a definite turn.) Then work as you did on the top until your brim is as wide as you desire. Bind off and wear!
Optional: Stitch in a sweatband of some stretchy fabric (old t-shirt?) for comfort.
Add a band and/or decorations. Put a string or shoelace in to tie it under your chin.
Variations:
To give to top edge of your hat definition, sc into the front loop on the last round before turning. Make your hat have a round top by increasing less often.
*Notes on bags.
Bags come in many sizes, colors and weights. It is easiest to use bags of all one weight, but really, anything goes. Cut heavier bags into more narrow strips.
To make strips:
method #1: Spiral cut. Trim off the bottom and handles of the bag. Start at one end and cut into a continuous spiral. The width of the strip is your choice, wider strips need bigger crochet hooks. My favorite method is to put the bag over a pole or tube (broomstick or vacuum cleaner tube?) and hold the scissors and pull the bag towards you. You don’t actually need to snip.
method #2 : Loops. Fold the bag lengthwise into quarters and cut strips across it (more narrow than the spirals)…these make loops. Loop the loops to each other to make a continuous double weight strip, with little lumpies where they are attached.
I personally don’t like crocheting with those little lumps, so I use the spiral method.
** Magic Adjustable Ring (http://www.crochetme.com/Dec_Jan_0405/reads_round.html)
Make a loop. Hold the “yarn” where it crosses and reach your hook through to grab the “yarn” to make a single crochet. Make 8 scs and pull the tail to tighten the loop.
Crochet links:
If you’ve never done crochet you can learn here. If you’re a pro you can get ideas.
http://learntocrochet.lionbrand.com/ – basic instructions in a pdf. http://www.anniesattic.com/ – Stitch instructions in quicktime videos http://www.crochetme.com/ – Online crochet magazine http://www.turn-of-the-century.com/hooks.htm – Gorgeous hand turned wooden hooks
Basic single crochet stitch (sc). But please, get a basic book or check out the links above.
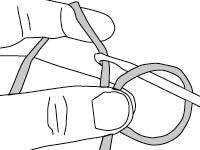
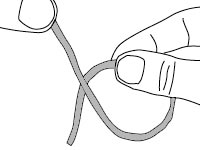
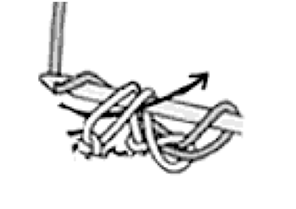
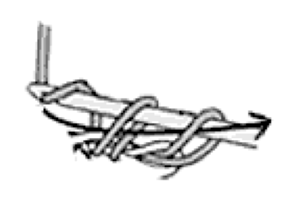
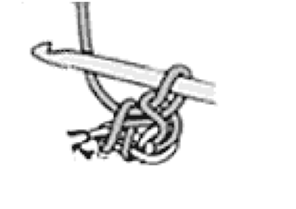


Insert hook, put yarn over it and pull through. 2 loops are on hook.
Loop yarn over hook again and pull through both loops.
One single crochet complete. On all rows after first circle insert hook through both loops of lower stitch.
Instructions by Jeanne Borofsky, the Dreaming Printer • http://dreamingprinter.com
