EPISODE 828 COYOTE…ALMOST INVISIBLE AT HIGH NOON
alan skeoch
May 30, 2023
We live in a frantic intersection of raw QEW and Hurontario highways in Misissauga.
Currently the throughways are being ripped apart for an LRT.
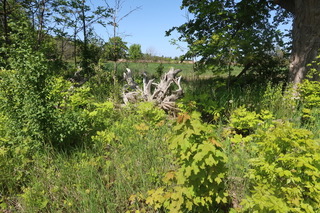
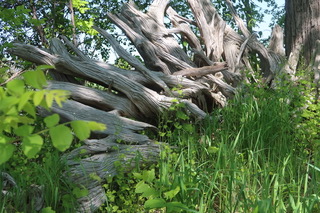
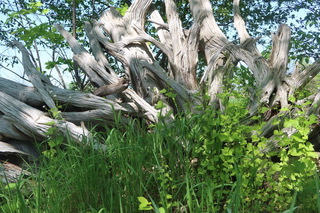
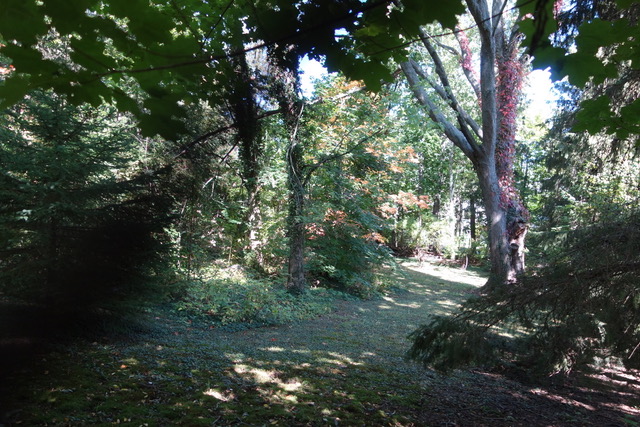
Within a stones throw of the construction is one of the places where coyotes feel at home. They have taken
ownership of a several acre woodland. And they are not afraid to show their ownership…their lack of
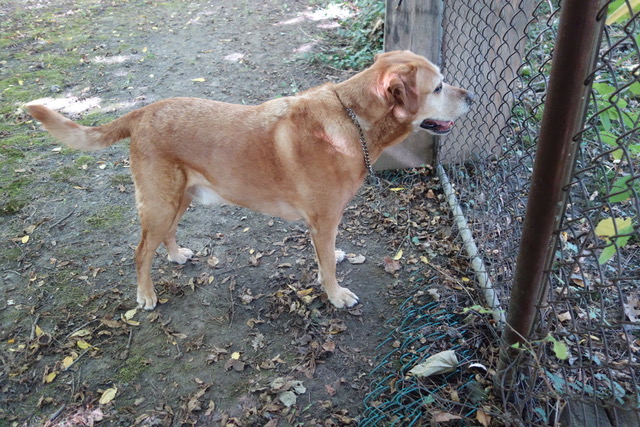
fear. Our dog Woody smells coyote spoor when I cannot see anything.
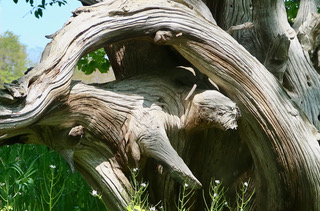
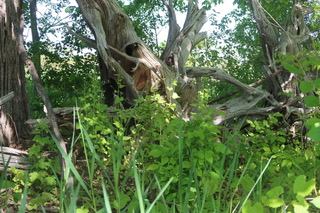
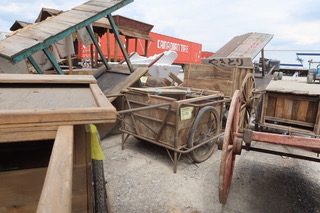
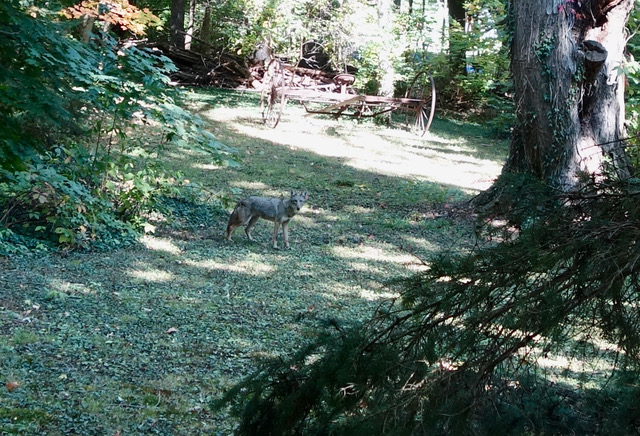
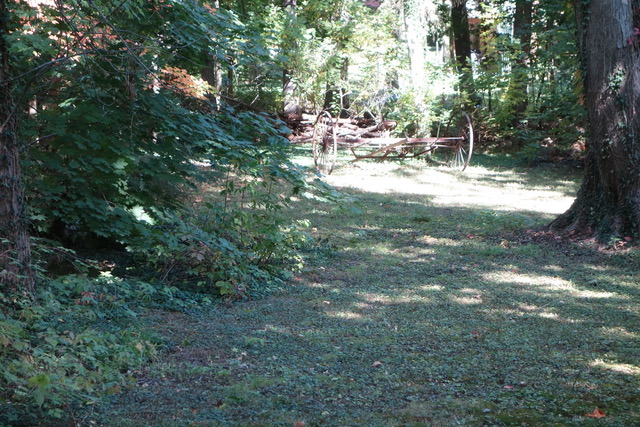
I could see nothing that was alivedown the back of
lot where an ancient dump rake rests. Nothing. Noting Nothing. Woody knew better.
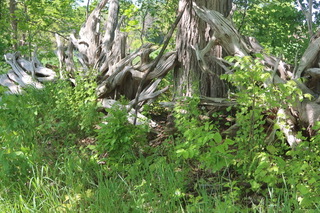
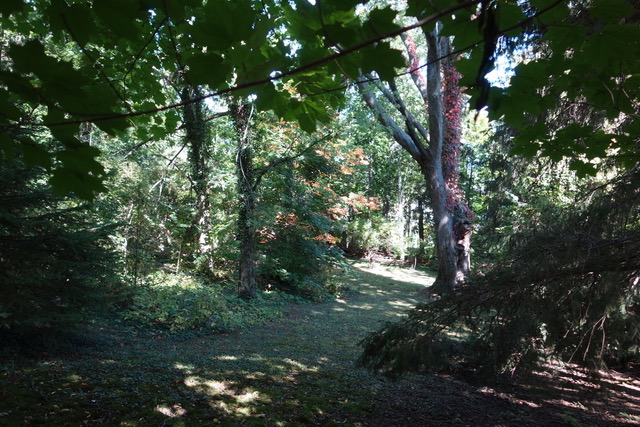
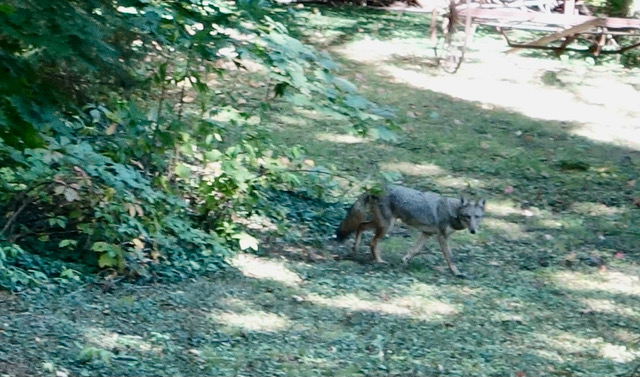
Evenutually the coyote slipped from the woodland camouflage into the daylight.
No intention of running away. Daring Woody to dig under the fence. Hungry.
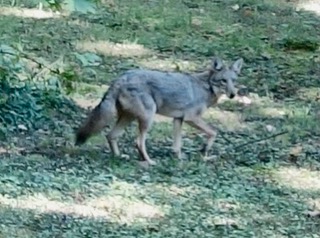
Back to being invisible in an instant. If your eyes are good
you can see him or her beside the left wheel of the dump rake. I think, but not sure.
In the small wilderness park a male and female coyote are raising three or four pups.
Playful stage right now. Woody is now aware that coyotes prefer food to play. Dangerous should
he venture down the back of our lot. He learned that the hard way when he
slipped through the gate and joined a coyote a while ago. Not a playful moment.
The coyote took a bite out of Woody’s backside. Food. Woody skedaddled back home fast.
Do not expect to see the coyotes. They are smart. They move around seeking, rabbits, garbage.Softly from place to place.
Itinerent. They are not stupid. Why do they seem to prefer urban places to rural places?
Food I believe. Not as many cats around here as their once were.Coyotes are not a big danger
to Woody Little dogs are more edible
I like the coyotes. Not everyone does.